
What are Adobe Media Cache Files, and why do they keep growing?
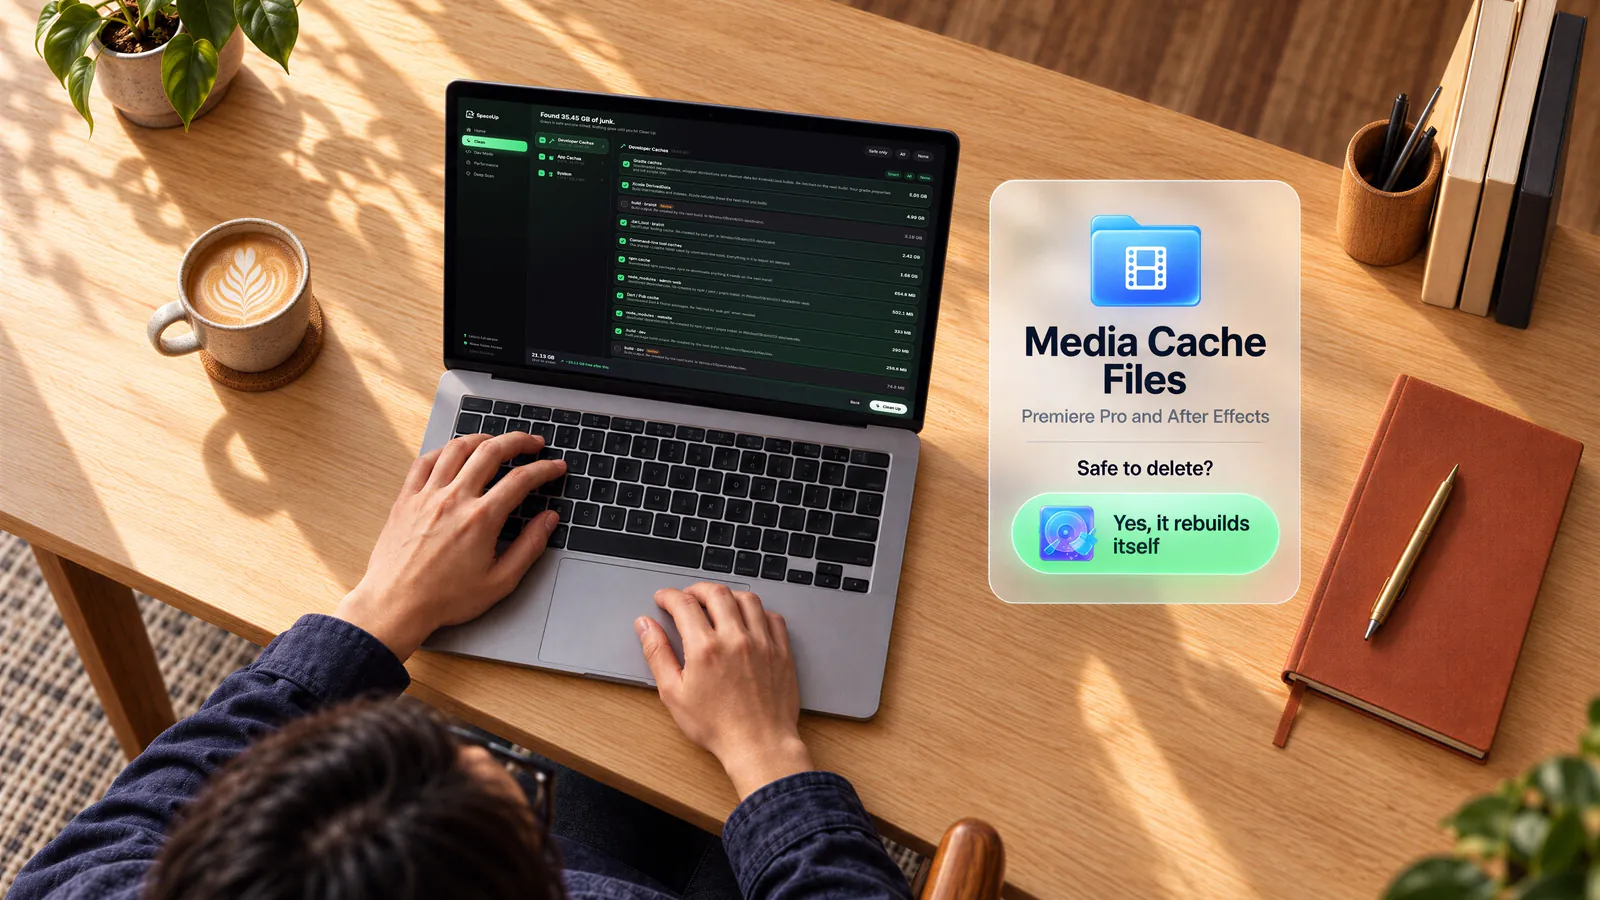
- Location
~/Library/ Application Support/ Adobe/ Common/ Media Cache Files - Safe to delete?
- Yes, it rebuilds itself Rebuilds on its own, but clear only the cache folders, not all of Adobe's Common folder.
Adobe Media Cache Files is a folder of helper files that Premiere, After Effects and Media Encoder build when you import footage: conformed audio, waveform peaks and index files. It’s safe to clear. The apps rebuild what a project needs the next time you open it, and the only cost is a slower first open.
What is Adobe Media Cache Files?
When you import video or audio, Premiere processes versions of it that it can read faster. Adobe calls these media cache files, and they include peak files (.pek) that draw your audio waveforms and conformed audio files (.cfa). After Effects does the same and also indexes MPEG files into .mpgindex files.
On a Mac, all of it lands in ~/Library/Application Support/Adobe/Common by default. You’ll find some or all of these folders there:
- Media Cache Files holds the cache files themselves. This is the one that gets big.
- Media Cache holds the database that links each cache file to its clip.
- Peak Files can show up too. Premiere’s own cleanup setting treats Peak and Media Cache files as part of the same cache.
Premiere, After Effects and Media Encoder share one cache database, so all three can add to this pile. Older guides call the app Premiere Pro. Adobe renamed it Premiere with version 26 in January 2026, and Adobe’s current help still points to the same Common folder.
macOS Storage settings don’t give Adobe caches a category of their own, so this folder can hide inside the System Data total. What counts as System Data on a Mac covers the other usual suspects.
Is it safe to delete?
Yes, for the cache folders. Adobe says deleted cache files are recreated automatically whenever your source media needs them, and it publishes its own steps for deleting them by hand. Your footage and your project files live wherever you saved them. None of that is inside Media Cache Files.
The cost is time. After a full clear, Premiere re-conforms audio and redraws waveforms for the clips in the next project you open, and Adobe tells you to budget time for that on large projects. Clear it between projects, not an hour before a deadline.
Don’t empty the whole Common folder, though. It mixes cache with things you’d have to put back by hand. Folders like Motion Graphics Templates and LUTs sit there once you create them, and third-party plug-ins use Common too. In one older Adobe Community thread, an editor who deleted everything in it reported a Premiere that crashed on launch. Delete what’s inside Media Cache Files, Media Cache and Peak Files, and leave the rest.
Why it gets so big
Premiere makes cache files for the clips you import and keeps them after the project wraps. Automatic cleanup is off out of the box. Adobe lists “Do not delete cache files automatically” as the default. Cache from a project you finished last year can still be sitting there.
Deleting footage or archiving a project to another drive doesn’t remove its cache either. That leftover cache is what Premiere’s Delete unused option targets: files made for media it can no longer find.
How to clear it yourself
From inside Premiere
Use this if Premiere opens.
- Connect any drives that hold footage for projects you’re still working on. The unused option deletes cache for media Premiere can’t find, and Premiere can’t find footage on an unplugged drive.
- Open Premiere and choose File > Close All Projects. Adobe says to close all projects before you delete all of the cache.
- Choose Premiere > Settings > Media Cache. Older versions say Premiere Pro in the menu, and some say Preferences instead of Settings.
- Click Delete next to Remove Media Cache Files.
- Choose Delete unused media cache files to keep cache for current work, or Delete all media cache files from the system to clear everything. Click OK.
Those are Adobe’s steps. You can also hold Command while Premiere launches and choose Clear media cache files in the Reset options dialog. The key you hold pre-ticks another option too (Command disables third-party plug-ins for that launch, Option resets your app preferences), according to Adobe’s product manager. Untick anything you didn’t mean to reset, especially Reset app preferences.
From Finder, without opening Premiere
Use this if Premiere won’t open, or your subscription ended and you can’t open it at all.
- Quit Premiere, After Effects and Media Encoder. Adobe says to exit Premiere first, and the other two share its cache database.
- In Finder, choose Go > Go to Folder, paste
~/Library/Application Support/Adobe/Commonand press Return. Finder hides your Library folder, so you won’t find Common by clicking around. - Open Media Cache Files, press Command-A and drag everything inside to the Trash. Do the same inside Media Cache and Peak Files if you have them. Leave the folders themselves where they are.
- Leave every other folder in Common alone.
- Open Premiere and a project you’re working on, and give it time to rebuild.
- Once playback and waveforms look right, empty the Trash. You only get the space back at that point. Adobe’s own steps end with emptying the Trash too.
In After Effects
After Effects shares the same cache database, but its button does less. Choose After Effects > Settings and open the Disk pane (some versions call it Media & Disk Cache), then click Clean Database & Cache. Adobe says that button only removes cache for footage whose source file is missing, so connect your media drives first. To clear all of it, use the Finder steps above.
After Effects also keeps a separate disk cache of rendered frames. It’s on by default, and its default size limit is 10% of the drive, up to 100 GB. The Empty Disk Cache button in the same pane clears it.
Stop it from growing back
- Choose Premiere > Settings > Media Cache.
- Under Media Cache Management, pick Automatically delete cache files older than (90 days by default) or Automatically delete oldest cache files when cache exceeds (10% of the drive by default).
- Quit and reopen Premiere. Adobe says cleanup starts 10 minutes after the next launch and then repeats weekly.
If you have a fast external SSD, you can move the cache there from the same pane. Adobe recommends a fast SSD for it, ideally a dedicated drive.
What SpaceUp Mac does with it
SpaceUp Mac’s Clean tab lists this as “Adobe media cache” under App Caches, pre-ticked, and on your approval clears what’s inside Media Cache Files, Media Cache, Peak Files and Analyzer Cache Files directly instead of moving it to the Trash (how cleaning works). It leaves the folders themselves and the rest of Common in place, and it only checks the default location, so a cache you moved to another drive won’t show up there. It doesn’t check whether Premiere is running, so quit your Adobe apps before you clean.
Common questions
Will clearing the media cache break my projects?
No. Your projects link to your original footage, and Premiere rebuilds the cache from that footage when you open them. Big projects take a while.
I deleted the cache. Why didn’t I get the space back?
If you used Finder, the files are sitting in the Trash until you empty it. Empty it once Premiere has opened your current project without trouble. For other places space hides, see how to free up disk space on Mac.
Should I clear it after updating Premiere or macOS?
Adobe’s Kevin Monahan recommends clearing all of it after either update. The new version then builds fresh cache instead of reading stale cache from the old one.
I moved my cache to another drive. Should I still check Common?
Yes. In an older Adobe Community thread, the answer marked correct says .ims files stay in the default location by design and only .cfa and .pek files move. One editor in the same thread also saw the location go back to the default after a big update and after a reinstall.